Building a private AI/Machine-Learning server on a budget
In an attempt to better understanding machine learning (ML) software, it seemed like a good idea to set up a private server to run software like PyTorch, TensorFlow, and even large language models or text-to-image generators. These are among the most prevalent applications of machine learning, so it made sense to build a computer capable of executing such tasks to gain hands-on experience and deeper knowledge on the subject.
To achieve this, a computer with sufficient computational power was necessary to these programs in a reasonable timeframe. While the majority of modern computers can run these types of programs, their performance depends on the available processing power. The processor can be used to perform machine learning computations, but it will be relatively slow. Some of this can be circumvented by using a processor with multiple cores and threads to enhance the ability to perform parallel computations.
See: GPU vs CPU
However, the primary component involved in running machine learning software is a graphics card (GPU). These cards handle the overwhelming bulk of the ML computations because they excel at matrix multiplications. Consequently, besides the raw computation power of a GPU, the video memory (V-RAM) of the graphics card becomes a crucial factor. This dedicated memory, separate from system RAM, is specifically designed for the graphics card’s operation.
See:
Having ample VRAM allows more complex programs to be loaded into the graphics card, enabling faster computations as data transfer between the rest of the computer and the graphics card is minimized. This reduction in back-and-forth communication helps circumvent bottlenecks present in the subsequent data transfer.
Based on these considerations, should sufficient VRAM be available, the computational prowess of the graphics card becomes the primary concern. Newer graphics cards generally require less power for equivalent performance, while the performance of an individual graphics card is directly tied to the power it uses; more power draw typically means better performance. This results in a compromise between desired computational power and the computer’s physical ability to deliver power.
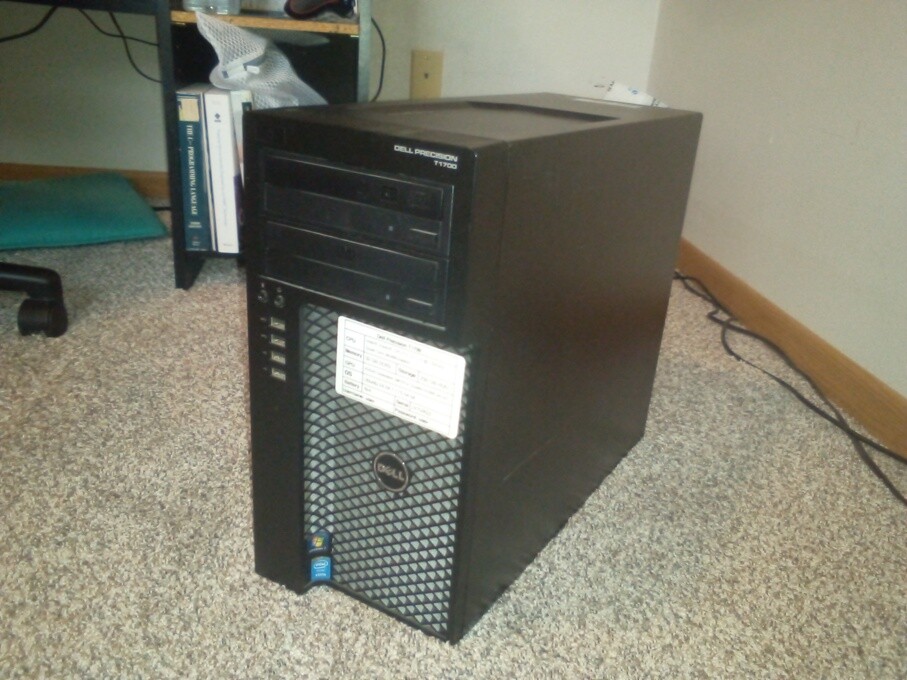
Selecting Hardware
I opted for an affordable desktop computer from a surplus store, specifically a used Dell T-1700. It featured a 4th-gen Xeon E3-1271v3 CPU with 4 cores and 8 threads with 8Mb cache, and 32GB DDR3 RAM. By 2025 standards, these specifications are modest, wherein the Xeon CPU released in ~2013 is comparable to 10th generation i3-10100f released in 2020. Given these specifications, the $50 price for the entire computer was well worth it.
Since machine learning algorithms rely heavily on graphics cards, processor and system RAM limitations become less critical compared to the graphics card’s capabilities. To this end, the proper choice of graphics card was critical. The Dell T-1700’s power supply could output 325 watts, with other components consuming around 150 watts (including a maximum of 85 watts for the processor). This left approximately 175 watts of usable excess power for the graphics card, setting a threshold for its maximum power consumption.
Although the power supply could accommodate enough power for the graphics card, another constraint arose: a processor bottleneck. Even if potent graphics cards met the power limit, the processor’s ability to communicate quickly with the card might hinder workload balance between both devices.
Graphics card
After examining well-balanced options, three graphics cards stood out: the GTX 1660 (6GB VRAM, 125W max), GTX 1080 (8GB VRAM, 180W max), and Tesla P4 (8GB V-RAM, 75W max). The Tesla P8, designed for servers, lacked cooling and video outputs, necessitating additional hardware modifications and expenses. This would include adding a cooling fan to card, and adding another graphics card to the computer to enable video output, or installing a different CPU with integrated graphics.
See:
Due to this, the GTX 1660 and 1080 remained the most practical choices due to their comparable power usage. The GTX 1080 offered more VRAM (8GB vs 6GB), but the GTX 1660 featured a newer Turing architecture from 2019, compared to the 2016 Pascal architecture of the GTX 1080. This architectural difference impacted compatibility with newer software like TensorFlow, which is sensitive to graphics card type.
See:
Ultimately, choosing between the GTX 1660 and GTX 1080 involved weighing the trade-off between power and compatibility. The GTX 1660 offered better future compatibility due to its newer Turing architecture, whereas the GTX 1080 with its Pascal architecture would soon become legacy devices with limited updates. The GTX 1660’s lower power draw (125W max vs. 175W for GTX 1080) was also more suitable for an older, potentially less capable power supply in the Dell T-1700. In practice, the GTX 1660 would likely consume around 100 watts, ensuring no component would overstress and maintaining the system’s longevity.
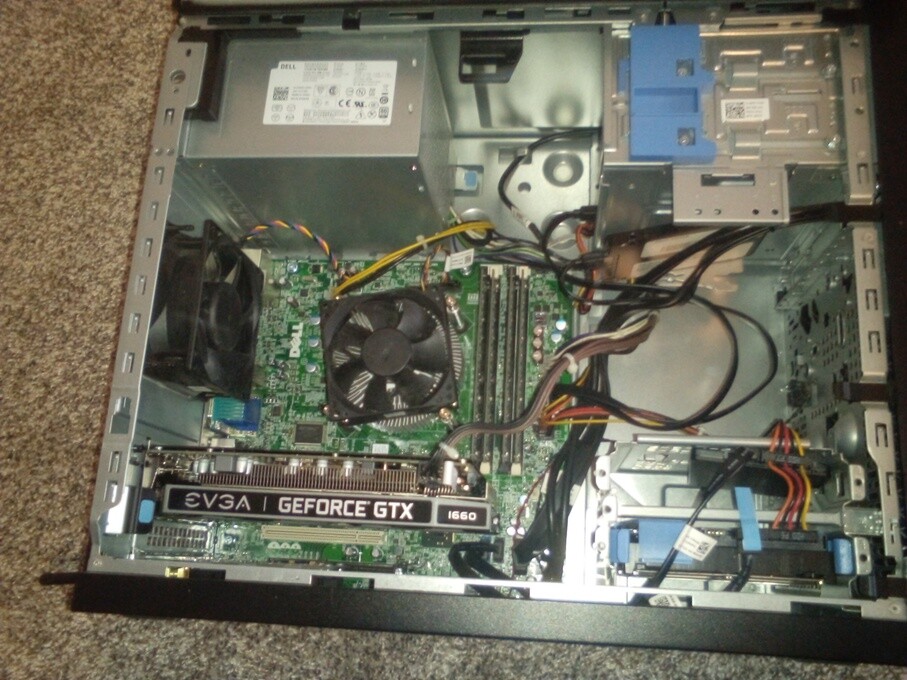

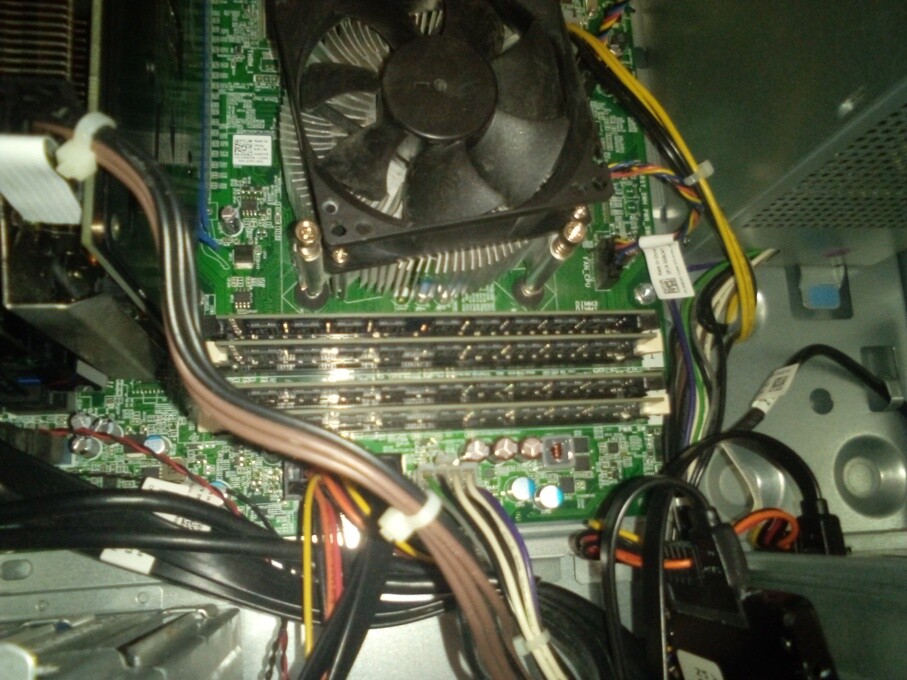
Images of the computer with the GPU
Having considered all factors, I bought a used GTX 1660 online for approximately $100. Installing it in the Dell T-1700 was straightforward, as the computer featured a blue PCIe slot designated for a video card. The power supply came with an extra cable for discrete video cards, but the GTX 1660 required an 8-pin connector. Although the power supply cable lacked the necessary pins, connecting a paperclip to the missing sensor pin connections (pins not needed for functionality) enabled the video card to function properly, allowing the computer to boot without issues.
DIY solution to use a 6-pin connector on an 8-pin GPU
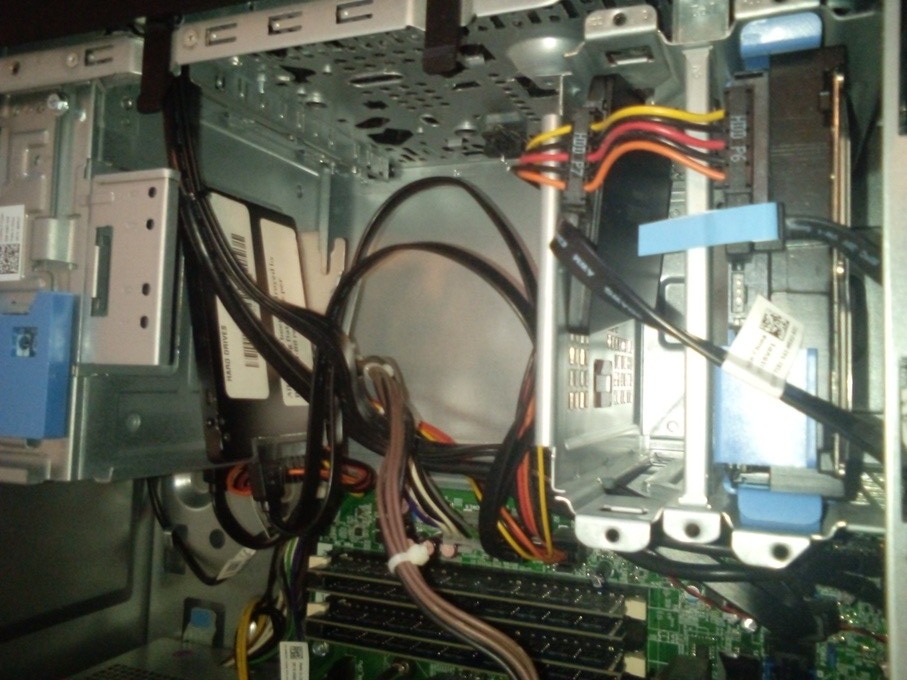
Hard drives
Next, I acquired a solid-state drive (SSD) to replace the noisy 250GB hard drive. I opted for a Samsung 850 Evo 250GB SATA SSD with DRAM, which ensures consistent read/write speeds superior to DRAM-less alternatives. Additionally, I purchased a Micron MTFDDAK512TBN 512GB SATA SSD, also with DRAM, intended to work alongside the smaller SSD. The 250GB drive stored the operating system, while the 512GB drive held user data (mainly in the home folder). The old hard drive served as a backup for system restoration if needed.
See:
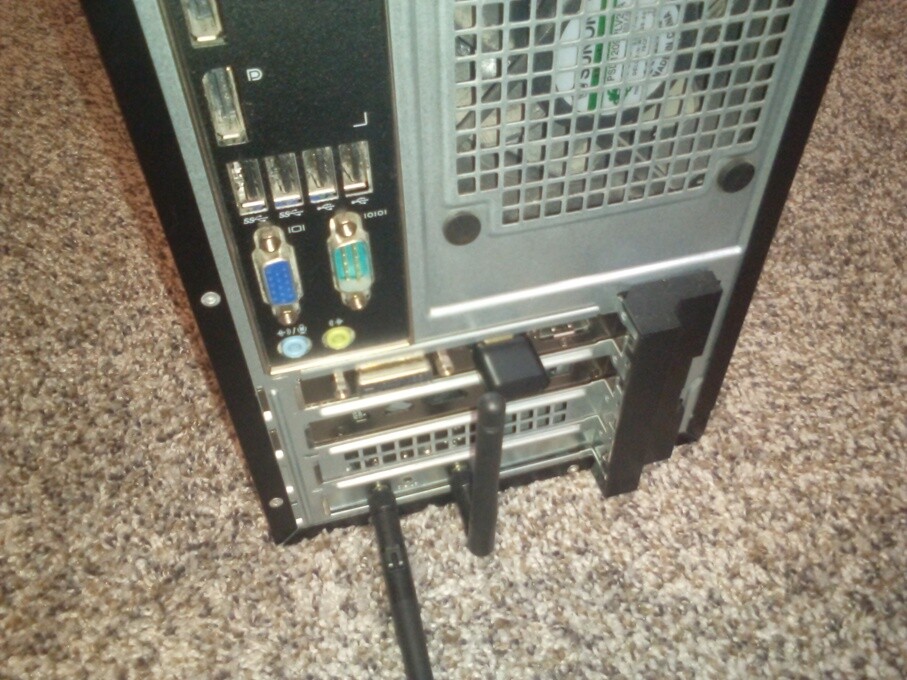
To enable wireless connectivity, I installed a TP-Link T6E PCIe Wi-Fi card compatible with both 2.4GHz and 5GHz connections. This adapter was inserted into one of the remaining PCIe slots in the Dell T-1700, offering better performance and stronger connections compared to USB alternatives.
The total cost for the computer, including components and software, was approximately $180-$190. The final configuration had an 8-thread processor with 32GB RAM, a 6GB VRAM GPU, and about 1TB of storage. I chose Linux Mint with the XFCE desktop environment to minimize resource usage by the graphical interface. Essentially, this means the computer runs a lightweight version of Ubuntu 24.04 LTS.
Python AI packages
With the hardware assembled, I proceeded to install the machine learning / AI software:
- Miniconda: To manage Python environments effectively.
- Proprietary Nvidia drivers: For optimal graphics card performance on Linux.
- CUDA (per-environment): Instead of a global installation, I installed CUDA individually for each Python environment to ensure compatibility with specific AI software like TensorFlow.
- JupyterLab: For running sessions involving TensorFlow and PyTorch.
- TensorFlow environment: Created a separate conda environment to run the latest TensorFlow version, automatically pulling the required CUDA version for Turing GPUs.
- PyTorch environment: Established a dedicated conda environment for PyTorch installation and usage, which was straightforward and worked out of the box.
- Ollama and Open-WebUI: I setup a separate conda environment for running large language models locally and accessing a graphical user interface through Open-WebUI (a Python package). Ollama was installed at the user level and handled running the LLMs.
This setup allowed me to utilize both TensorFlow and PyTorch efficiently, with PyTorch’s simpler installation and code being particularly advantageous. The local execution of large language models using Ollama was facilitated by the open web UI, encapsulated within a conda environment to keep each configuration organized.
Stable diffusion
As the final software installation, I added Automatic1111’s WebUI for Stable Diffusion, although its importance was less critical for my primary interest in PyTorch-based application development. Despite occasional instability and the need for additional parameter tweaking, it was fascinating to observe the computer generate images using text commands.


Images generated by the PC with the prompt: "Astronaut riding a horse in space"
See:
To run the WebUI server from a conda environment, I used the following commands:
# Create python environment
conda create -n sdwebui python=3.10.6
conda activate sdwebui

# Install webui
git clone https://github.com/AUTOMATIC1111/stable-diffusion-webui.git
cd stable-diffusion-webui
pip install -r requirements.txt

# Run webui (required every time to start server)
python launch.py
Credit goes to DeepSeek for the above commands and the above reference.
Remote access
To enable remote access, I installed Tailscale to get extremely simple to use VPN connection. This setup resulted in an server that was accessible anywhere that was capable of:
- Performing relatively heavy computational tasks via JupyterLab
- Running private large language models with Ollama via Open-WebUI for information retrieval or document analysis
- Unlimited and unrestricted image generation on demand via Automatic1111’s WebUI
Since all of these services run their GUI’s as web-servers, it was a trivial to use them remotely. Once the VPN connection was established, the AI software only required entering the appropriate IP address from tailnet into a browser, and then providing the correct login credentials to access the web-app.
See:
These are tasks that would otherwise be impossible on a much less powerful laptop due to insufficient computational resources.
LLM Models
The large language models, despite the 6GB VRAM limitation of the graphics card, proved to be impressive with models like mistral:7b and deepseek-r1:8b. Response times ranged from a few seconds to around 20 seconds for very long prompts. Moreover, these models could be configured to access the internet for additional information, which greatly enhanced their capabilities. Ollama’s flexibility allowed users to experiment with various models beyond popular ones like Deepseek or ChatGPT. Tailored models, such as qwen2.5-coder:7b for code generation, could be easily selected using Ollama’s CLI interface, or via Open-webUI’s GUI. Another notable model was IBM’s granite3.3:8b, which also ran well on the GPU and consistently provided concise and precise replies. This multi-model setup created a generally useful AI system when the right models were given appropriate prompts.
See:
Conclusion
This project was highly educational and provided insights into the capabilities of small-size large language models. Some of the main takeaways include:
- Familiarity with Linux is essential as it’s the primary environment for configuring and using the AI/ML packages. Other operating systems might support these tools, but Linux offers a more straightforward setup.
- Prior research is crucial for making informed decisions when building a system capable of running AI software.
- Nvidia graphics cards are recommended to avoid compatibility issues with CUDA.
- The power supply is the main bottleneck when choosing a Graphics card.
- The CPU is mostly idle when computations are offloaded to the GPU.
- One can use a relatively weak CPU to run AI models if the graphics card is powerful enough and has enough VRAM.
Overall, this entire experience was an eyeopener and demonstrated the importance of understanding hardware limitations when working with AI.