Connecting to Cisco-Secure-Client VPN on Ubuntu 24.04 with XFCE
Due to work, I had to install a Cisco VPN to access a local network drive. While instructions were provided for Windows, I did not have access to a set of instructions for Ubuntu. Being a Linux user, I had no other choice but to figure it out while using the Windows configuration as a guide. Thankfully, Ubuntu is generally well supported for these types of programs and the process was straightforward.
Install and configure the VPN
The first step was to download the installer for AnyConnect VPN for Ubuntu directly from Cisco’s website:
- Cisco Download Page: In my case, I had to login to the site before I could download any files. I used the credentials from my organization which worked, but it’s easy to make a new account and get access to the installer. Once downloaded, go to where the file was downloaded (and extract the file if necessary) then run the command:
sudo sh cisco-secure-client-linux.sh
Once the program is installed, it will generate a desktop file pointing to /opt/cisco/secureclient/bin/vpnui. On XFCE, the program will appear as Cisco Secure Client in the Whisker Menu.
The next step is to configure the firewall ports to allow the VPN to work. If using the uncomplicated firewall, the following ports should be enabled for INCOMING data by running:
sudo ufw allow 443/tcp
sudo ufw allow 443/udp
For further details on the required ports, see:
- What protocols are used on Anyconnect mobility client
- Prerequisites for Secure Client Based (AnyConnect) Remote Access
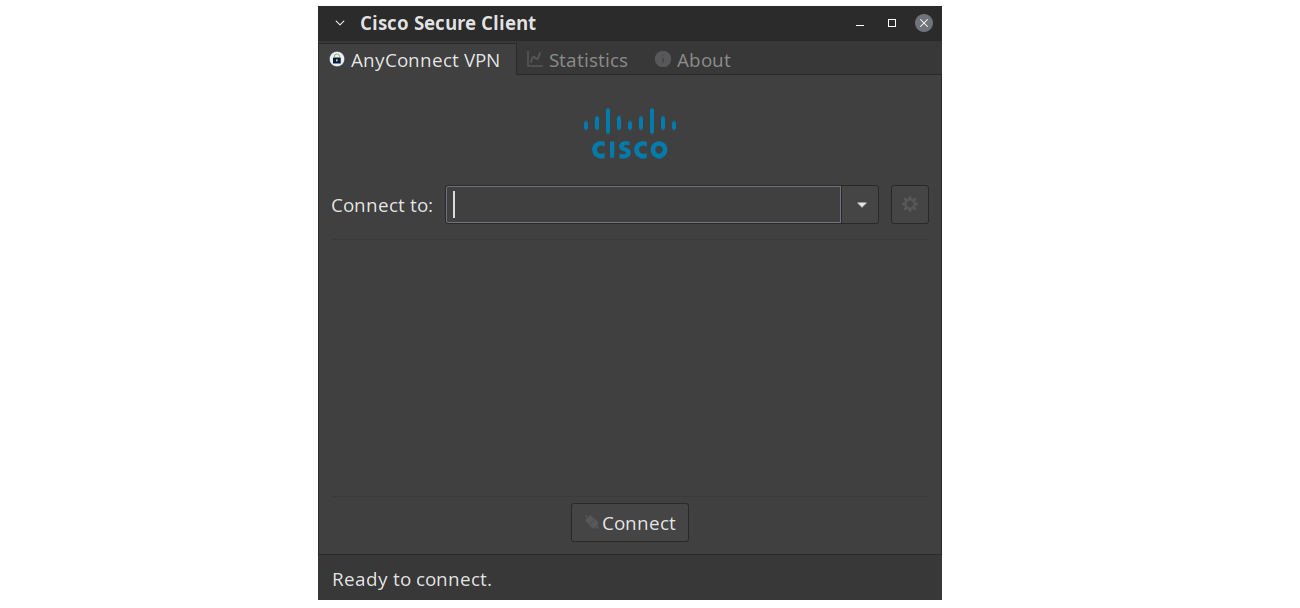
After this configuration, proceed to open Cisco Secure Client and enter the address for your organization and click connect:

The program will proceed to open a page on the default web-browser and request login credentials to try to complete the connection. Should anything interfere with this process, the VPN connection will fail. Therefore, it’s best to disable any addblockers on this page to avoid any conflicts. Should everything work, the page will report a successful connection with a message similar to the one shown below:

Mounting a remote drive
Once the VPN is connected, one can access any network drives that are available on the private network. On XFCE one can use following steps:
- Open the
Thunarfile manager and click on the location bar.

-
Enter the address of the network drive. If one was given a Windows address of the form
\\<path>\<subpath>\, simply replace the\with/and enter this command into the location bar:smb://<path>/<subpath>/ -
Give Thunar a few seconds to establish a connection, then double click on the folder you want to gain access to. The file manager will request a username and password (which will match those requested on Windows) to gain access to the folder. Provide this information to complete the connection.
-
To permanently store the directory, leave Thunar open and go to
Bookmarksand clickadd. This will pin the remote folder to the sidebar of the file manager.
Address for git repositories
To access a git repository mounted on the network drive, one must use a different address from the used to establish the network connection. This can easily be obtained by opening the repository with Thunar and opening a terminal in said folder. In my case, this returned the address:
/run/user/1000/gvfs/smb-share:server=<remote_address>,share=git/<localpath>
It is this exact address one must enter into git. For example:
git remote add origin /run/user/1000/gvfs/smb-share:server=<remote_address>,share=git/<localpath>
The above address will work whenever the VPN is connected, and only after the remote drive is manually opened with thunar. Should these steps not be followed, git will not be able to connect to the remote server.
It is definitely possible to automate this process by configuring samba, but this manual approach works well enough to sporadically connect to the network drive.
See: Configure Samba
Uninstall the VPN
To remove the VPN one can run an sh file located in the install directory. In my case, the program was installed at:
/opt/cisco/secureclient/bin/
Once there one can open the terminal and run:
sh ./vpn_uninstall.sh
Alternatively, once run the following the command from any directory:
sh ./opt/cisco/secureclient/bin/vpn_uninstall.sh